How can I achieve proper exposure in a photograph?

Proper exposure in a photograph refers to the amount of light that is allowed to reach the film or image sensor when the photograph is taken. A photograph that is correctly exposed will appear balanced and not too bright or too dark. There are three main factors that can affect the exposure of a photograph: aperture, shutter speed, and ISO.
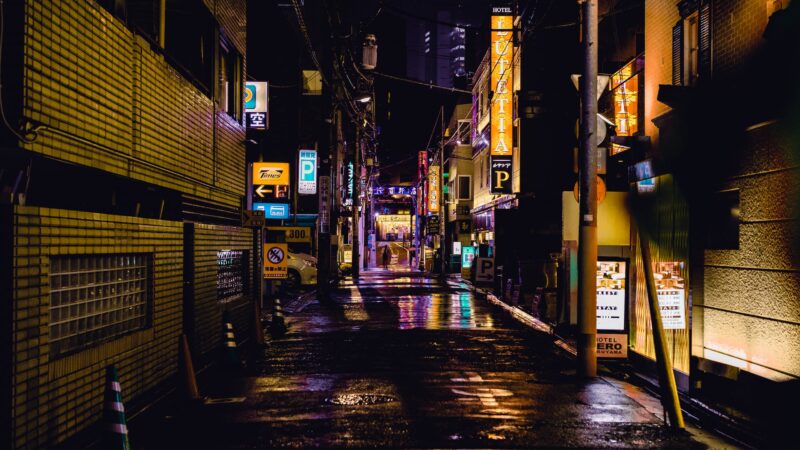
Aperture refers to the size of the opening in the lens through which light passes. Aperture is measured in f-stops, and is indicated by a number such as f/2.8 or f/16. A larger aperture (a lower f-stop number) allows more light to pass through the lens and reach the film or image sensor, while a smaller aperture (a higher f-stop number) allows less light to pass through the lens.
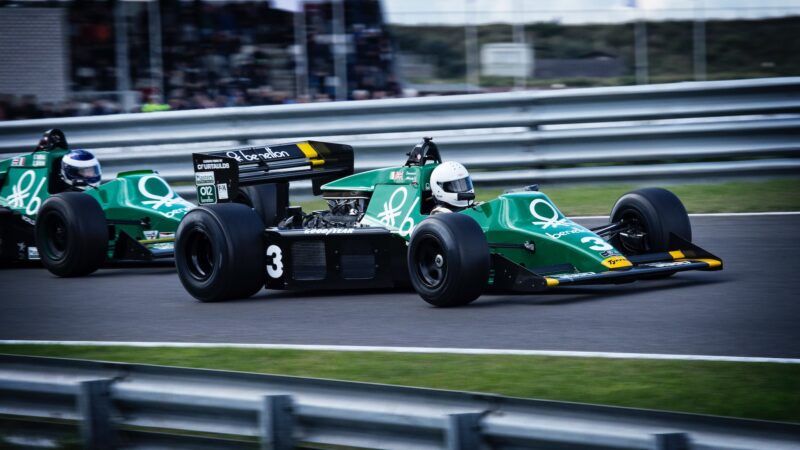
Shutter speed refers to the amount of time that the camera’s shutter is open when the photograph is taken. Shutter speed is measured in seconds or fractions of a second, and is indicated by a number such as 1/15 or 1/1000. A longer shutter speed (a lower number) allows more light to reach the film or image sensor, while a shorter shutter speed (a higher number) allows less light to reach the film or image sensor.
ISO refers to the sensitivity of the film or image sensor to light. A higher ISO setting allows the film or image sensor to be more sensitive to light, while a lower ISO setting allows the film or image sensor to be less sensitive to light.
To achieve proper exposure in a photograph, you will need to adjust these three factors in relation to one another. For example, if you are taking a photograph in a low light situation and you want to use a faster shutter speed to freeze motion, you will need to use a larger aperture and/or a higher ISO setting to compensate for the shorter amount of time that the shutter is open. On the other hand, if you are taking a photograph in bright light and you want to use a smaller aperture to increase the depth of field, you will need to use a slower shutter speed and/or a lower ISO setting to compensate for the larger aperture.
One way to achieve proper exposure is to use your camera’s metering system. Most cameras have a built-in light meter that can help you determine the correct exposure for a scene. To use the metering system, you will need to set your camera to manual exposure mode and then adjust the aperture, shutter speed, and ISO settings as needed to achieve the desired exposure. You can also use the camera’s histogram to check the exposure of the photograph after it has been taken.
Another way to achieve proper exposure is to use the “exposure triangle.” This method involves balancing the aperture, shutter speed, and ISO settings to achieve the desired exposure. For example, if you want to use a fast shutter speed to freeze motion, you can increase the ISO setting and/or use a larger aperture to compensate for the shorter amount of time that the shutter is open.
It is generally recommended to use the lowest possible ISO setting and the largest aperture (lowest f-stop number) that is appropriate for the situation, and to adjust the shutter speed as needed to achieve the desired exposure. This will help to minimize noise and maintain image quality. However, the specific settings that you use will depend on the specific requirements of the scene and the effect that you are trying to achieve. By experimenting with different combinations of aperture, shutter speed, and ISO, you can learn how to achieve proper exposure in a variety of different situations.